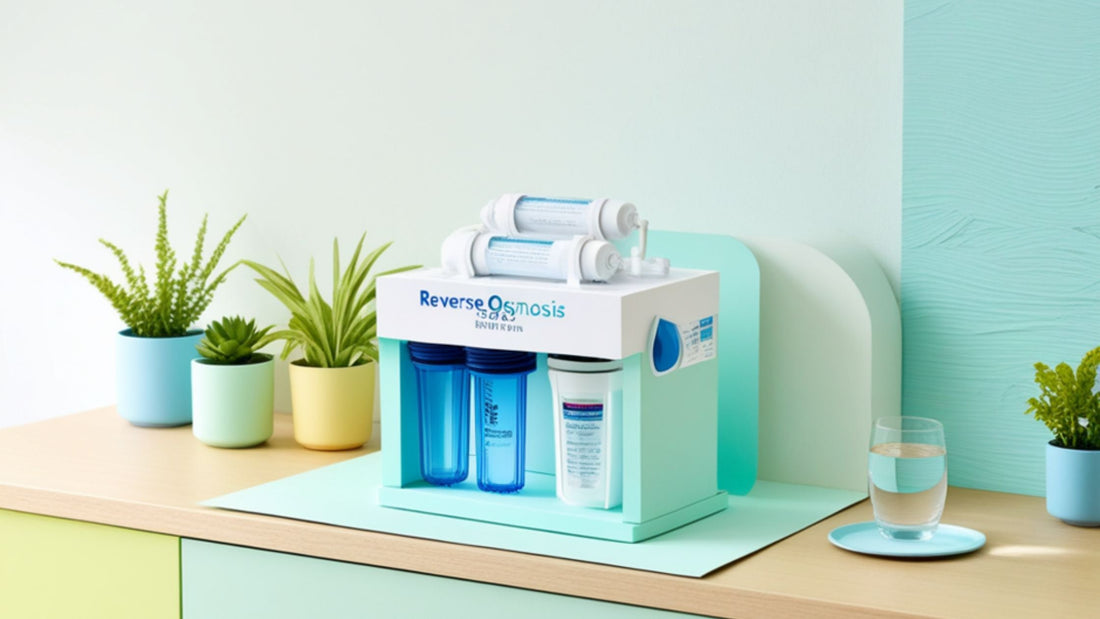
Clean water is essential for health, but tap water isn’t always ideal.
Installing a water filter at home is a smart way to ensure better taste and remove contaminants.
This guide will walk you through a weekend project to install a water filter in just five simple steps—no need for professional tools or advanced plumbing skills.
Why Install a Water Filter at Home?
Common Contaminants in Tap Water
Irish tap water typically meets safety standards, but trace elements like chlorine, limescale, and heavy metals can still be present.
In rural areas, well water may contain bacteria, nitrates, or iron.
Other potential issues:
-
Cloudiness from sediment
-
Unpleasant taste or smell
-
Residual pesticides in agricultural zones
Filtering helps eliminate or reduce these impurities, improving water safety and taste.
READ MORE - Filter Installation Mistakes You’re Probably Making
Benefits of Home Filtration
Filtered water:
-
Tastes better
-
Reduces reliance on bottled water
-
Lowers skin irritation from chlorine
-
Protects household appliances from scale buildup
Over time, you save money and reduce waste by switching to a home system.
Tools and Materials You’ll Need
Filter Type Overview
There are different types of filters. Choose based on your needs:
-
Under-sink filters: Ideal for drinking and cooking water
-
Whole-house systems: Filters all incoming water
-
Countertop models: Easy setup, but take up space
For this guide, we’ll focus on under-sink models—compact, efficient, and affordable.
Recommended Tools
Before starting, gather:
-
Adjustable wrench
-
Bucket or towel
-
Drill (if mounting bracket is required)
-
Marker
-
Teflon tape
-
Cutter or scissors
-
Mounting screws (if included)
Most kits from providers like EWT or Celtic Water Solutions come with fittings and hoses.
Step-by-Step Installation Guide
Step 1 – Shut Off Water Supply
Find the cold water valve under your sink and turn it clockwise to close.
Open the tap to release pressure and drain remaining water.
Place a towel or bucket under the pipes to catch any drips.
Step 2 – Choose the Mounting Location
Pick a spot under the sink to mount the filter vertically.
Ensure there’s space to change the cartridge later.
Mark the screw holes using the bracket as a guide.
Step 3 – Connect the Filter Inlet & Outlet
Cut the cold water pipe or disconnect the flexi hose.
Install the T-valve or diverter included in your kit.
Attach the inlet hose to the filter and tighten using a wrench.
Connect the outlet hose to the tap line. Use Teflon tape to prevent leaks.
Step 4 – Mount the Filter System
Screw the filter bracket into place.
Hang the filter housing securely. Ensure hoses are not kinked or twisted.
Keep clearance underneath for future cartridge changes.
Step 5 – Turn On Water and Check for Leaks
Open the cold water valve slowly.
Let water run through the filter for 5 minutes to flush the system.
Check all fittings for leaks. Tighten as needed.
Once done, your filter is ready for daily use.
Maintenance Tips for Long-Term Use
Filter Replacement Frequency
Most under-sink filters need replacing every 6–12 months.
Signs it’s time to replace:
-
Reduced flow rate
-
Change in taste or smell
-
Cartridge color changes (for see-through housings)
Keep a calendar reminder or set a phone alert to stay on track.
Common Issues and Quick Fixes
Leaks?
-
Recheck fittings and use more Teflon tape.
Low flow?
-
Replace clogged filter or flush it.
Strange taste?
-
Let the filter run longer after installation.
Always refer to the user manual for troubleshooting tips.
Is It Worth Installing a Water Filter Yourself?
DIY installation saves money, offers flexibility, and lets you understand your own plumbing system.
Most under-sink systems are built for simple installation.
With a few tools and some patience, you can have cleaner, better-tasting water in under two hours.

